

Article written by
Sarah Parker
The walkthrough below covers what we ask for at each step, what happens during the photo ID check, and what to expect if you're verifying a business outside the United States.
Here are the 8 steps to getting your Cope account verified:
Set up your business
Pick your business type and structure
Add your business details
Add your personal information as the business representative
Connect your bank account for payouts
Set the public details your customers will see
Review and submit
Verify your photo ID with your phone
1. Set up your business
When you log into Cope for the first time, you land on the Getting Started page. The platform walks you through each step from here.
The first action is to set up your business. Click into the business setup card, enter your business name, and select the country where your business is registered. For this example we'll use the United States. Hit Create Business and step one is done.
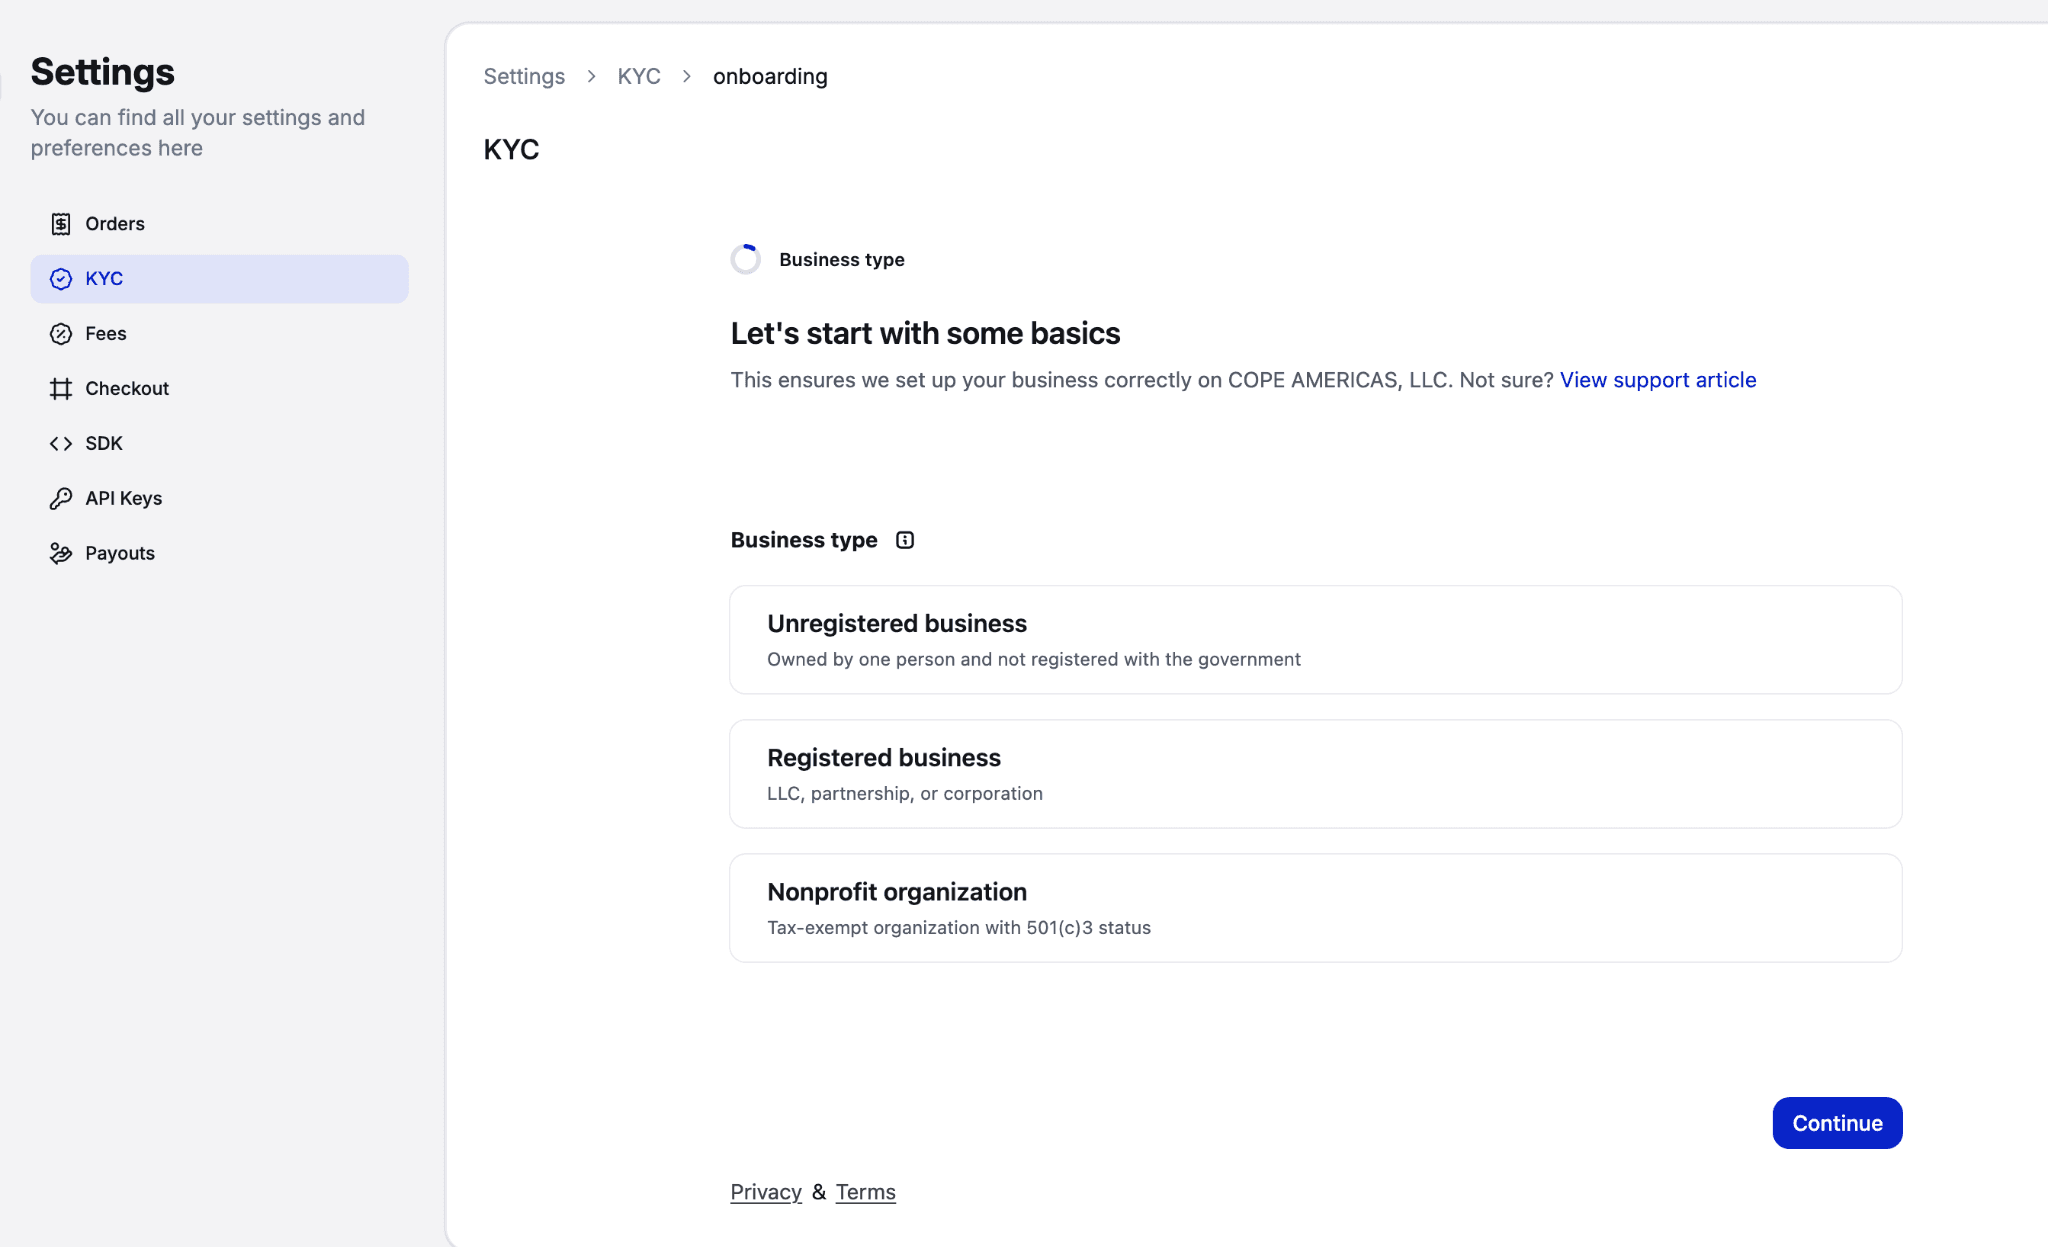
A Start button appears next to "Create your first product," but we recommend completing KYC before you create products. Your account isn't payout-ready until verification is complete, so it's worth getting it out of the way first.
2. Pick your business type and structure
The first thing we ask in the KYC flow is what kind of business you're running.
Pick your business type (Company, Individual, and so on) and then your business structure. For a US Single Member LLC, you would select Company, then Single Member LLC. Press Continue.
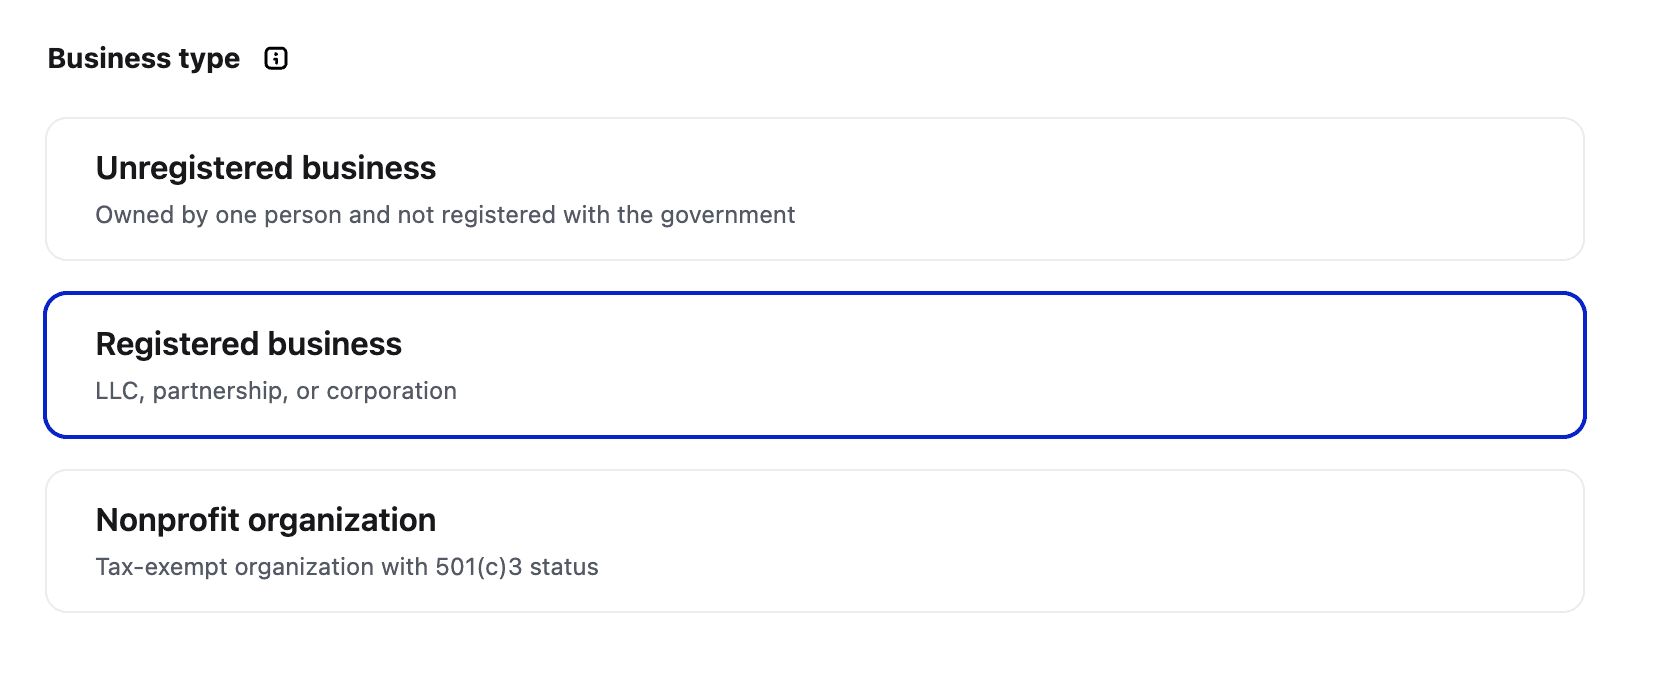
This pair of choices drives the rest of the form. A sole proprietor will see slightly different fields than a multi-member LLC or a corporation.
3. Add your business details
Now we collect the official details of your business:
Legal business name (whatever's on file with your government)
Business ID number (for US entities, this is your EIN)
Business address
Industry (we provide example categories like digital products and written content, so you can pick the closest fit)
Customer support email address
Website
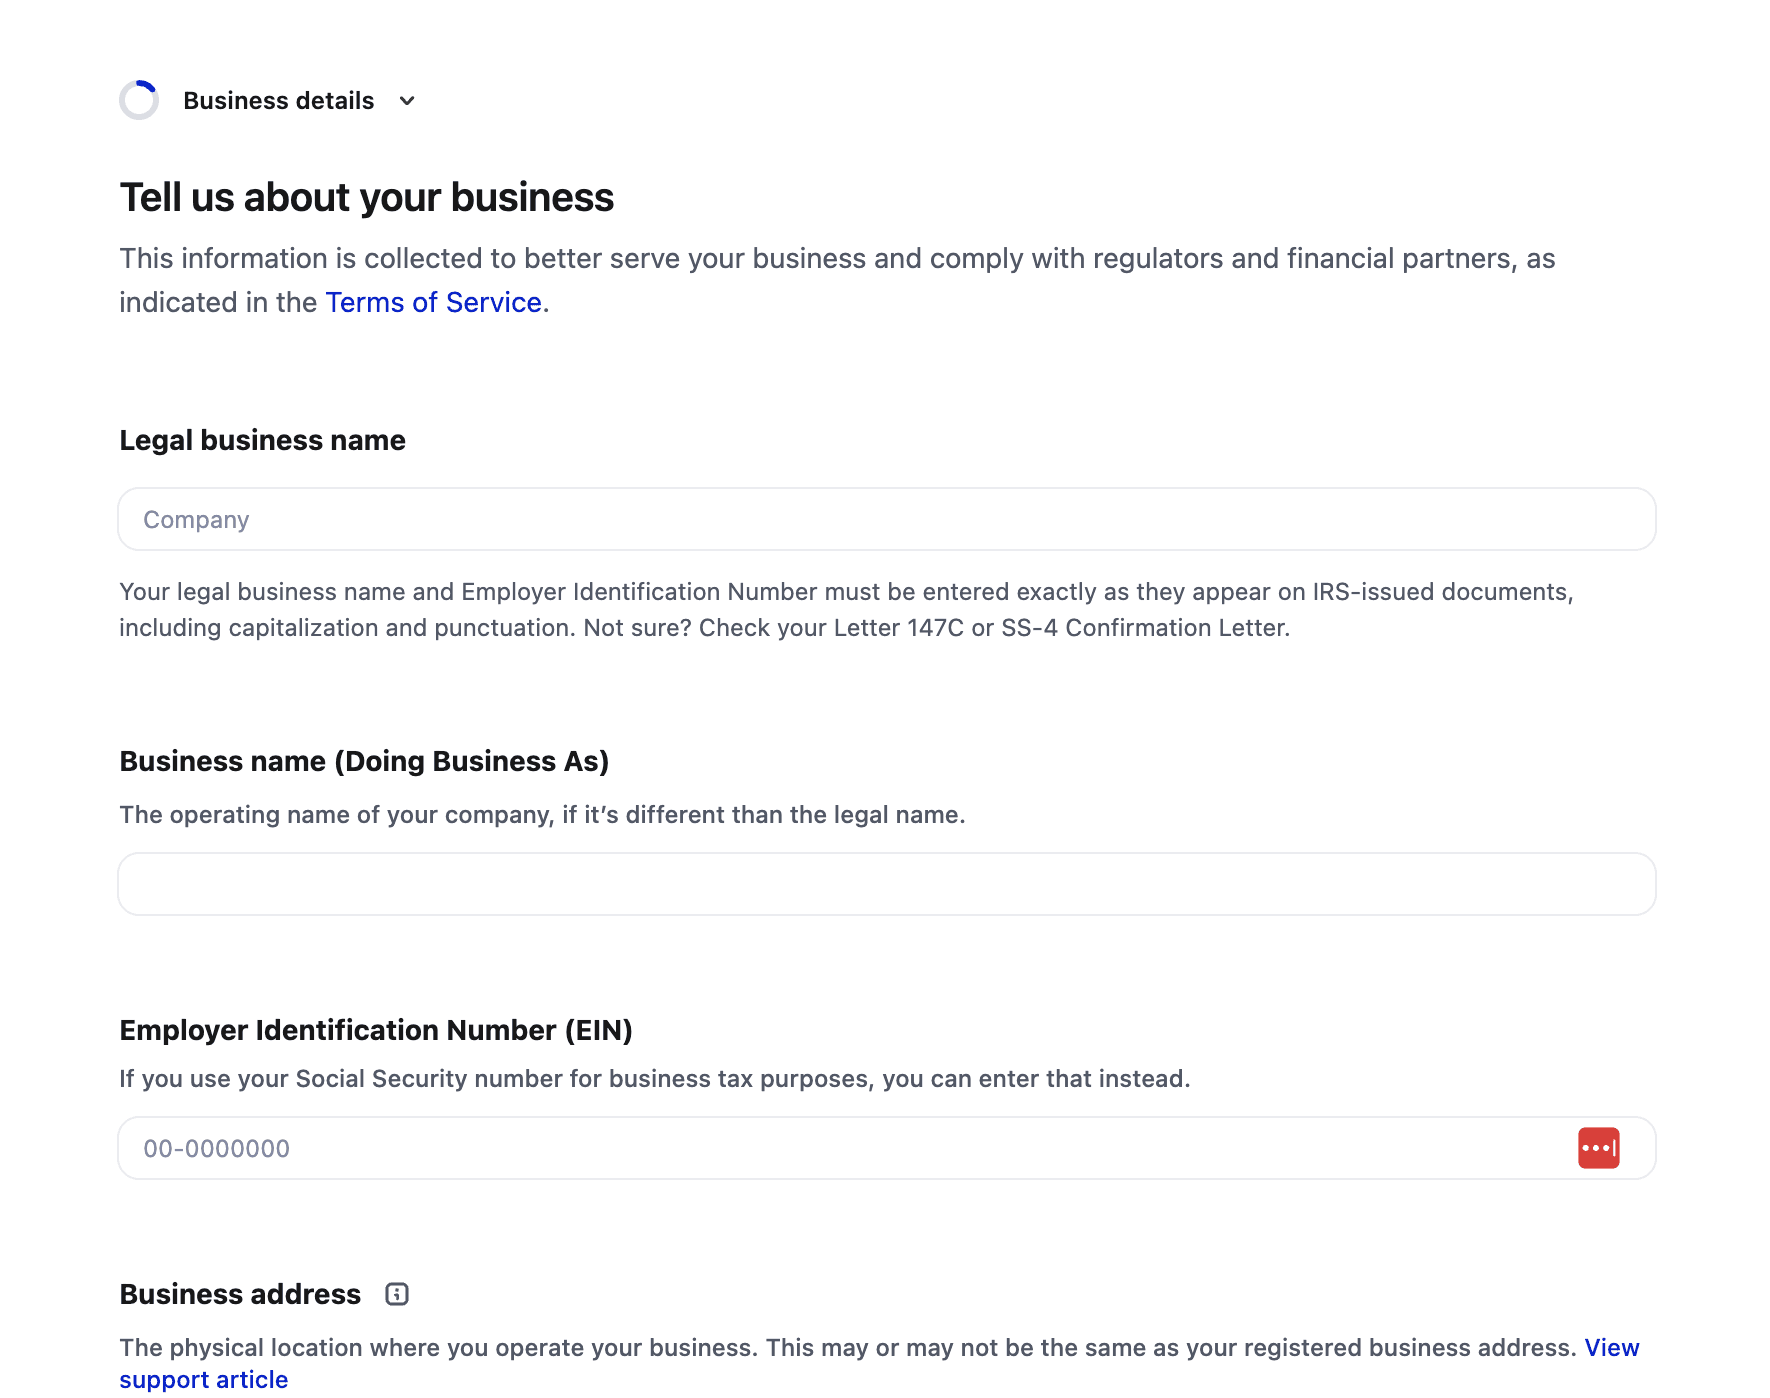
Once everything is filled in, hit Continue.
4. Add your personal information as the business representative
KYC requires us to verify a real person behind the business, not just the entity. As the representative, you'll add:
Your legal name exactly as it appears on your passport or government ID
Email address
Date of birth
Home address
Phone number
The last 4 digits of your Social Security number (US verification only)
If you're verifying a business outside the US, the equivalent national ID field appears here instead.
5. Connect your bank account for payouts
You can't get paid without telling us where to send the money. On this step you'll either:
Search for your bank and connect it directly, or
Enter your bank details manually
Continue once your account is connected.
6. Set the public details your customers will see
These details show up at checkout and on your buyers' bank statements, so they should be recognizable:
Public business name
Statement descriptor (the text your customer sees on their card statement)
Customer support phone number
Customer support email
The statement descriptor is worth a moment of thought. It's what your customer sees when they check their card statement weeks after buying. If they don't recognize it, they're more likely to dispute the charge. Use a name your customers will instantly link back to your product.
7. Review and submit
Cope shows you a review screen with everything you've entered. If anything is incomplete, you'll see an Edit button next to the section. Click in, fill in the missing field, and come back to the review.
When the form is clean, you'll see Start Verification appear next to Photo ID. That's the last step.
8. Verify your photo ID with your phone
The photo ID check is the only step that needs your smartphone, because we need a live picture of you and a live picture of your government ID.
Click Start Verification on the Photo ID row. Cope generates a QR code on screen. Open your phone's camera, scan the code, and the verification flow opens directly on your phone. From there you:
Agree to the verification terms
Take a picture of yourself
Take a picture of your passport (or another accepted government ID)
Submit
The check itself takes a few seconds. When it's done, your business status updates to Verified and your account is cleared for payouts.
A note on country-specific requirements
The walkthrough above uses a US Single Member LLC as the example. If your business is registered in another country, the fields you see will be different and you may need to provide additional documents. The flow stays the same: we walk you through each requirement step by step, and you only see fields that apply to your country.
Get verified and start selling
KYC verification is the gate between setting up your Cope account and taking your first payout, and we've built the flow to be as fast as the regulations allow.
Once you're verified, you can create your first product, configure your checkout, and start accepting payments straight away. Create your free Cope account and walk through the verification flow yourself.
Article written by
Maria Martinez